
This little project needed:
- 1 old garden glove or otherwise.
- Around 4 to 5 small - medium plastic plant pots of your preferred colour
- Rivets (or other way to securely attach the parts)
- Washers to use with rivets
- A rivet gun
- A drill
- Possibly some pins/tacs.
- Scrap paper (Optional this just helped me sort out sizing and shapes in the early 'prototype'

Shameless showing off of terrible sketching skills

Slightly blurred, this picture includes the paper 'prototypes' as I worked it out.
With the third plant pot you cut out the bottom once again, only this time you need to cut it in half and cut out a small area where the thumb will be. A bit like this:

WARNING: Not to scale, just a guide, also varies depending which hand your doing.
So now you should have something a bit like this:
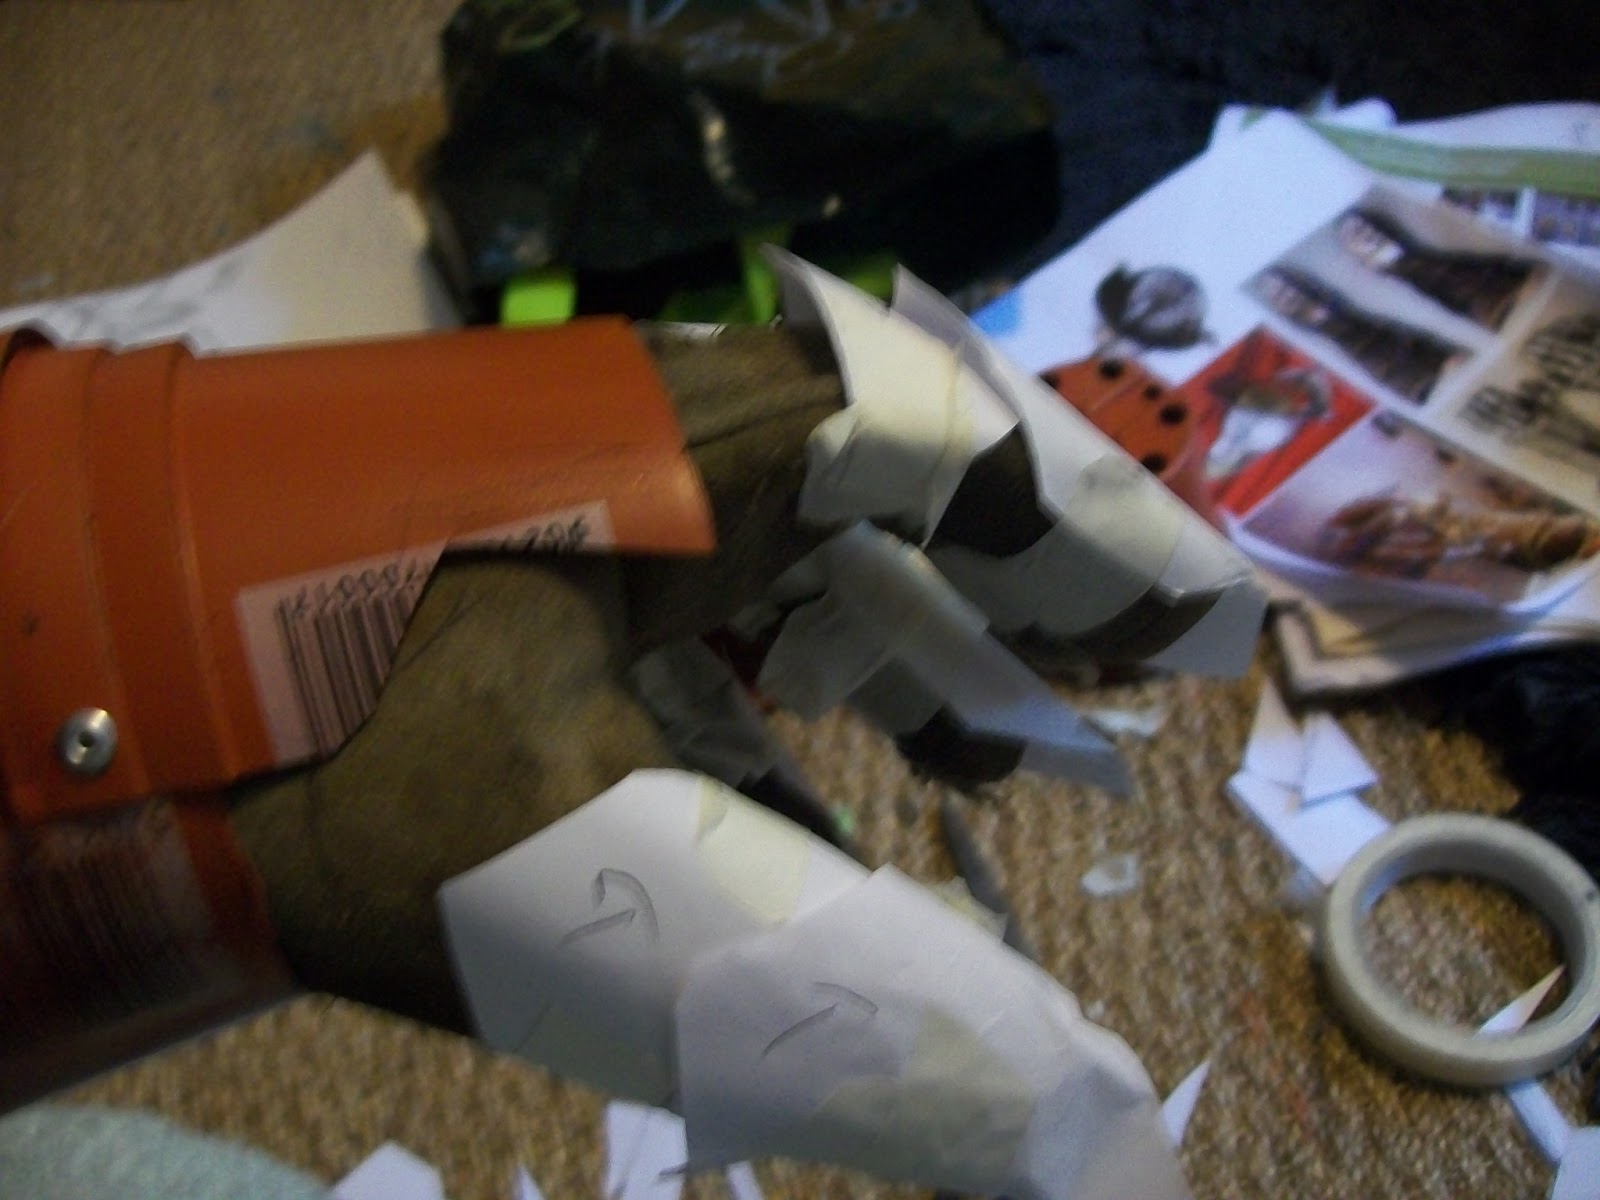
You can see a lot of paper in these pictures, this was just my way of working out the exact size/shape I needed to cut out of the plant pots for the finger pieces. Each finger/thumb has two pieces to them and you can vary them as much as you want, but here's the shapes I went for:

Thumb piece
Top piece: 6cm x 4cm
Bottom piece: 6cm x 7cm

Finger pieces:
Top piece: 6cm x 4cm
Bottom piece: 4cm x 7cm
After I cut out the thumb and finger (x4) pieces, I worked out how/where to connect them all using drawing pins - it helps to see what the finished thing will look like and where it will look best. So now you have to drill holes through all of it.
You're going to need to use a drill head that's the same width as the rivets you're going to use - preferably the smallest you can find. Drill holes, using the pin holes as guidance and using a small sharp implement, make small holes in the glove as well - not massive ones, tiny ones which you can then use a rivet to successfully push a correct size hole through. (depending on the glove material, you made need to use other means - leather may need you to hammer a nail/small drill through instead).
As to where you put the holes, I put two holes on either side of the finger pieces and three on the wider thumb. The plastic should easily curves around, but if not try bending it slowly first or even applying a curling iron to it.
Now when I did this project I foolishly went from the wrist first riveting, making it near impossible for me to do the fingers. So to make it a thousand times easier for yourself, rivet through the correct holes from the smallest finger at the tip first using a rivet gun and a carefully balance washer on the inside of the glove over the rivet (and that's going to be fiddly. REAL fiddly. Make this part a practice of patience and fighting the will to throw it hard against the art teachers). After that do the tips of each finger and thumb, then do the top finger/thumb pieces so that your glove now looks like this (but with plastic instead of paper and rivets instead of tape):


Now the easier part of attaching it to your half cut pot. I personally riveted the holes and glove in this layout:

As you can see its sort of like one rivet (on the main part of the glove) for each finger. So now you just need to make the 'sleeve'/wrist... thing. Before you attach this to the glove, you need to attach the two pieces together in a way that's going to let you move your wrist. For this I simply did two rivets on either side with one slotted into the other as seen here - that way its movable. Do a similar thing (and in the same position) with the half pot already connected to the glove and the now 'middle' pot with the glove coming through.
The rivet you see there poking out is the first of two I used to secure the glove in place, one above and one below, which is where I left the riveting, but you could try other patterns/positions to rivet, or more if you need it to secure. If you want it even MORE secure, just apply some super glue/adhesive to the different parts.

And there you go, a plant pot gauntlet to wield your infinite gardening power upon the world. And it doesn't have to stop at gauntlets, it can be entire outfits too...

Lord of the Gnomes
No comments:
Post a Comment